
How to Stain and Seal a Cedar Fence in Connecticut
Cedar can go silver-gray on its own, or hold its warm color for years if you finish it right. Here is how to stain and seal a cedar fence in Connecticut: when to start, which product to choose, and the steps that make a finish last.
Cedar is one of the few fence materials that looks good whether you finish it or not, which is exactly why homeowners get stuck on the question of staining. This guide covers how to stain and seal a cedar fence in Connecticut: whether you should, which product to pick, the weather window that works here, and the order of steps that gives a finish that lasts. It is a different job from winter care. For snow, salt and freeze-thaw, see our guide to cedar fence maintenance in Connecticut winters.
In this guide
- Should You Stain Cedar at All?
- Choosing a Stain or Sealer
- When to Stain: Timing for Connecticut
- How to Stain and Seal a Cedar Fence, Step by Step
- Connecticut Conditions That Change the Job
- Mistakes That Cause Peeling and Blotches
- Staining Yourself or Hiring Out
- Cedar Fence Staining FAQ
- Planning a Cedar Fence, or Rethinking One?
Should You Stain Cedar at All?
Not always. Left alone, cedar turns a soft silver-gray, and plenty of people prefer that look. Cedar contains natural oils that resist rot and insects, so an unfinished fence is not a doomed fence. Staining is mostly about color and about slowing the surface damage that sun and moisture do to the boards.
Stain makes sense when you want to hold the warm golden tone, match a house color, or even out a fence that is weathering unevenly, with dry sunny sides turning gray and shady sides growing dark mildew. It also makes sense around a pool or sprinklers, where boards get wet often.
Skip it if you love the gray look, if boards are soft or rotting (repair first), or if you do not want to recoat every few years. If you want zero upkeep, vinyl is the honest answer: white or tan, never stained. See our vinyl fencing page, or vinyl fence installation in East Hampton for a local example. Our repair vs. replacement guide helps you judge a tired fence.
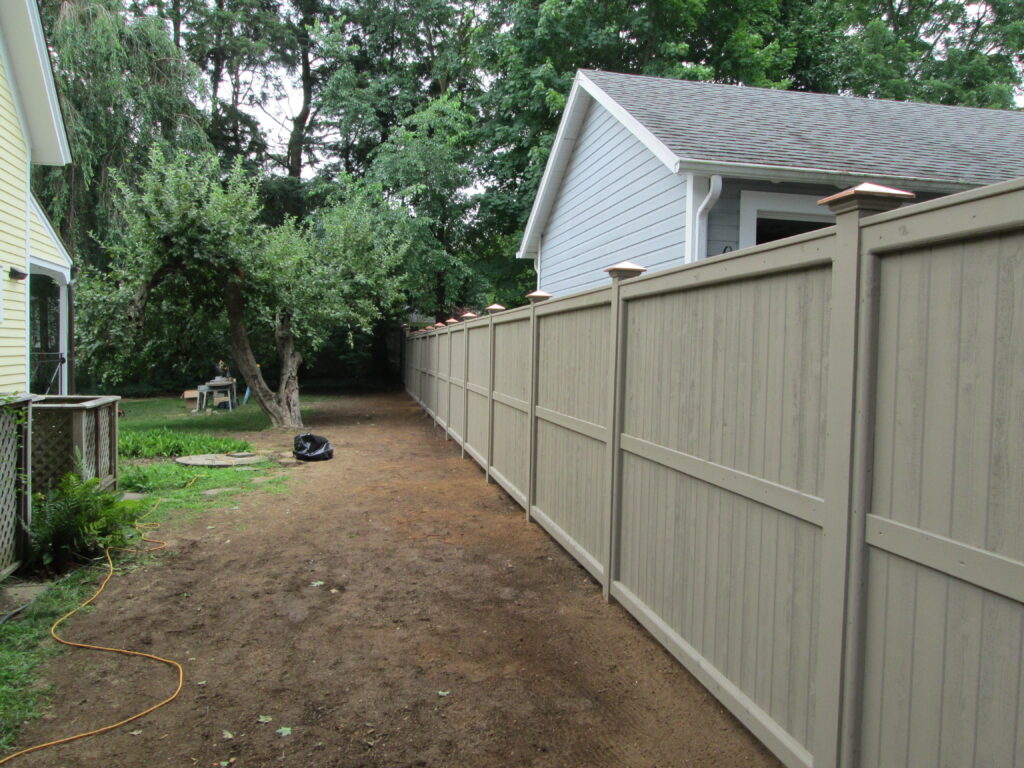
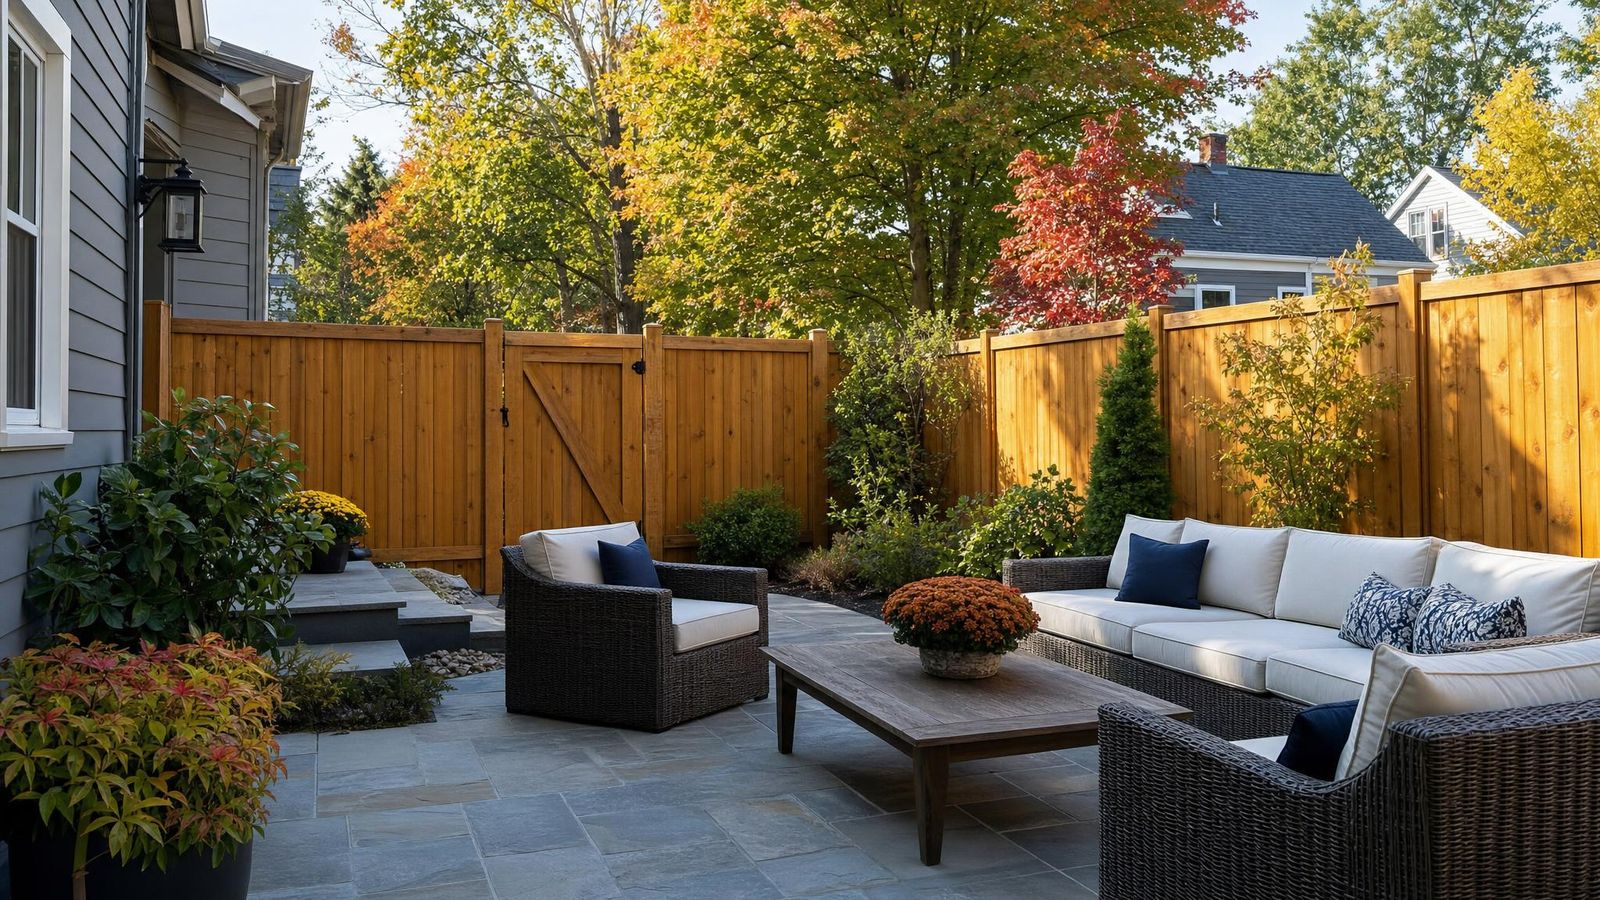
Choosing a Stain or Sealer
There are three broad choices, and they trade appearance against upkeep. In a USDA Forest Service study of finishes on western redcedar, service life rose from clear water-repellent finishes, to semitransparent stains, to solid-color stains and paints. Pigment blocks the UV that grays wood, so more pigment generally means a longer-lasting finish. That study used western redcedar siding, not fence boards, so treat it as a guide to direction, not a promise of years. Source: USDA Forest Service, finish durability on western redcedar.
| Finish | Look | Trade-off |
|---|---|---|
| Clear sealer or water repellent | Natural cedar color, fades toward gray | Least UV protection, so expect to reapply the most often |
| Semitransparent stain | Shows grain, adds color | Wears away gradually instead of peeling, which makes recoating simple |
| Solid-color stain | Opaque, hides the grain | Longest-lasting of the three but can wear unevenly and takes more prep to redo |
Oil-based and water-based versions exist in each category. Oil-based products tend to soak in deeper; water-based ones clean up easily and dry faster. Follow the label for the product you buy. If you are installing a new Arrow fence, our privacy cedar fences are offered natural, stained or in a solid latex stain, so you can decide before the first board goes up.
When to Stain: Timing for Connecticut
New cedar holds moisture and sometimes surface oils that stain will not penetrate. A common test is to sprinkle water on a board. If it soaks in within a few minutes, the wood is ready. If it beads, wait and test again, usually weeks to a few months. Always follow the stain maker’s instructions, because products differ.
For an older fence, the best windows in Connecticut are late spring and early fall. You want a stretch of dry days, mild temperatures within the range printed on the can, and no rain forecast for at least a day or two after you finish. Avoid staining in direct midday sun on hot boards, which makes stain dry too fast to soak in. Do not start on a frosty fall morning, and never over wet wood.
Want a firm number for your property?
How to Stain and Seal a Cedar Fence, Step by Step
- Inspect and repair. Replace rotted or split boards, reset loose nails or screws, and fix sagging gates. Stain does not fix structural problems.
- Clean the surface. Remove dirt, mildew and gray, loose fibers with a wood cleaner made for exterior wood and a soft brush. If you use a pressure washer, keep the pressure low and the tip moving, because cedar is soft and high pressure raises and tears the grain. Protect plants and rinse well.
- Let it dry. Give the fence at least a day or two of dry weather, longer in shade, until a water drop soaks in again.
- Test a hidden spot. Try the stain on a low or back board. Cedar color varies, and the result can differ from the swatch.
- Protect what you do not want stained. Cover hinges, latches, house siding and plantings, and lay down a drop cloth along the base.
- Apply with a brush or sprayer. Work in manageable sections, along the grain, and keep a wet edge to avoid lap marks. If you spray, back-brush right away so the stain works into the wood. Two thin coats beat one thick one.
- Do the places that rot first. Coat end grain, cut ends, the bottoms of boards and the faces that touch rails, because water enters at these points.
- Cure. Keep sprinklers, pets and kids away until the product dries as stated on the label.

Connecticut Conditions That Change the Job
Shade and damp. North-facing, tree-covered fence lines grow mildew, and USDA research on cedar finishes calls mildew a recurring problem. Clean those runs more carefully and give them more drying time.
Road and plow spray. Fences near roads and driveways take salt spray all winter. Rinse them in spring, before you stain.
Freeze-thaw. Water that gets into cracks and end grain freezes and widens the damage, which is why sealing those spots matters more than a perfect face coat.
Sprinklers and soil contact. Aim irrigation away from the boards, and keep mulch, soil and leaf piles from touching the fence bottoms.
Mistakes That Cause Peeling and Blotches
- Staining over wet wood, or over a surface that still sheds water.
- Applying thick coats that sit on top and peel instead of soaking in.
- Skipping the cleaner and sealing mildew into the finish.
- Using a fresh stain over a failing solid-color coating without scraping and sanding the loose areas.
- Forgetting the backs, bottoms and end grain.
Staining Yourself or Hiring Out
A single backyard run is a realistic weekend project. A long, tall fence with lattice or scalloped tops is slow, and sprayer overspray is a real risk near houses and cars. The decision comes down to your time, ladder comfort and how many feet you have. If the fence needs more than a coat of stain, such as failing boards or sagging sections, it may be time to compare repair with replacement. Our cedar privacy fence cost guide lays out what a new one involves, and our financing page explains how payments can be spread out. For pickets, look at our cedar picket fences. Comparing cedar styles first? Read our privacy fence styles guide, and if you live in an association, our HOA community fencing guide explains approvals. We also build in Granby and East Granby. Comparing cedar styles first? Read our privacy fence styles guide, and if you live in an association, our HOA community fencing guide explains approvals. We also build in Granby and East Granby.
Cedar Fence Staining FAQ
How soon can I stain a new cedar fence?
It depends on the wood and the product. A common test is to sprinkle water on a board: if it soaks in, the wood can take stain, and if it beads, wait. Many fences need weeks to a few months. Follow the stain label.
How often do I need to restain a cedar fence?
There is no single number. Clear sealers wear out fastest, semitransparent stains next, and solid-color stains last longest. Sun exposure, shade, and how wet the boards get matter more than the calendar. When water stops beading on the surface, it is time to recoat.
Is a sealer enough, or do I need stain?
A clear sealer protects against water but offers the least UV protection, so the wood still grays. If you want to keep the color, a pigmented semitransparent stain is a better fit.
Can I pressure wash my cedar fence?
You can, but carefully. Cedar is soft, and high pressure or a tip held too close raises and splinters the grain. Use low pressure, keep the wand moving, and consider a soft brush and wood cleaner instead.
Is it better to leave cedar natural?
If you like the silver-gray look and the boards are sound, yes. Cedar resists rot and insects on its own. Staining is a color and surface-protection choice, not a requirement for the fence to last.
Does Arrow Fence offer stained cedar fences?
Our privacy cedar fences are available natural, stained or with solid latex stain finishes. For an existing fence you want to stain yourself, this guide covers the process, and we are happy to talk through your fence at an estimate.
Planning a Cedar Fence, or Rethinking One?
Arrow Fence builds custom cedar privacy and picket fences in our East Hampton workshop and installs them with our own crews. Tell us about your project and we will measure and quote it.
CT Home Improvement Contractor Reg. HIC.0537503